Thursday 30 March 2017

Raquel Bowman mini tag album

Hey everyone, Thank you so much for choosing to take part in my tag class. This class features the amazing 'Chasing Dreams' collection by Crate Paper and as the class states lots of tags, layers and gorgeousness. 

Here is the Mini Album which is bound by a jump ring:


Here is it all spread out, you can really see the layers, changes in size, transparency and shape of the tags making it fun to flip through and look at. 

We all work at different paces when scrapbooking so I have created a video and added some extra images that will help you when creating your album. Please keep in mind, how you choose to construct your album, which tags and ephemera you choose to use, is completely up to you. This is my album and can be used as inspiration and a guide OR you can make yours just as I have. The main thing is that you enjoy the process, learn some new techniques or design ideas and most of all HAVE FUN!

Here is the video (there is no sound): I will talk you through this during class of course but if you wish to go ahead feel free:


Here are the tags which I chose to use in the ephemera pack for my foundation pages:
 

This is how my desk looked when I started to create my base pages, I liked to see how the pages might flow by popping them all for me to see whilst keeping in mind I still had the reverse sides to embellish:

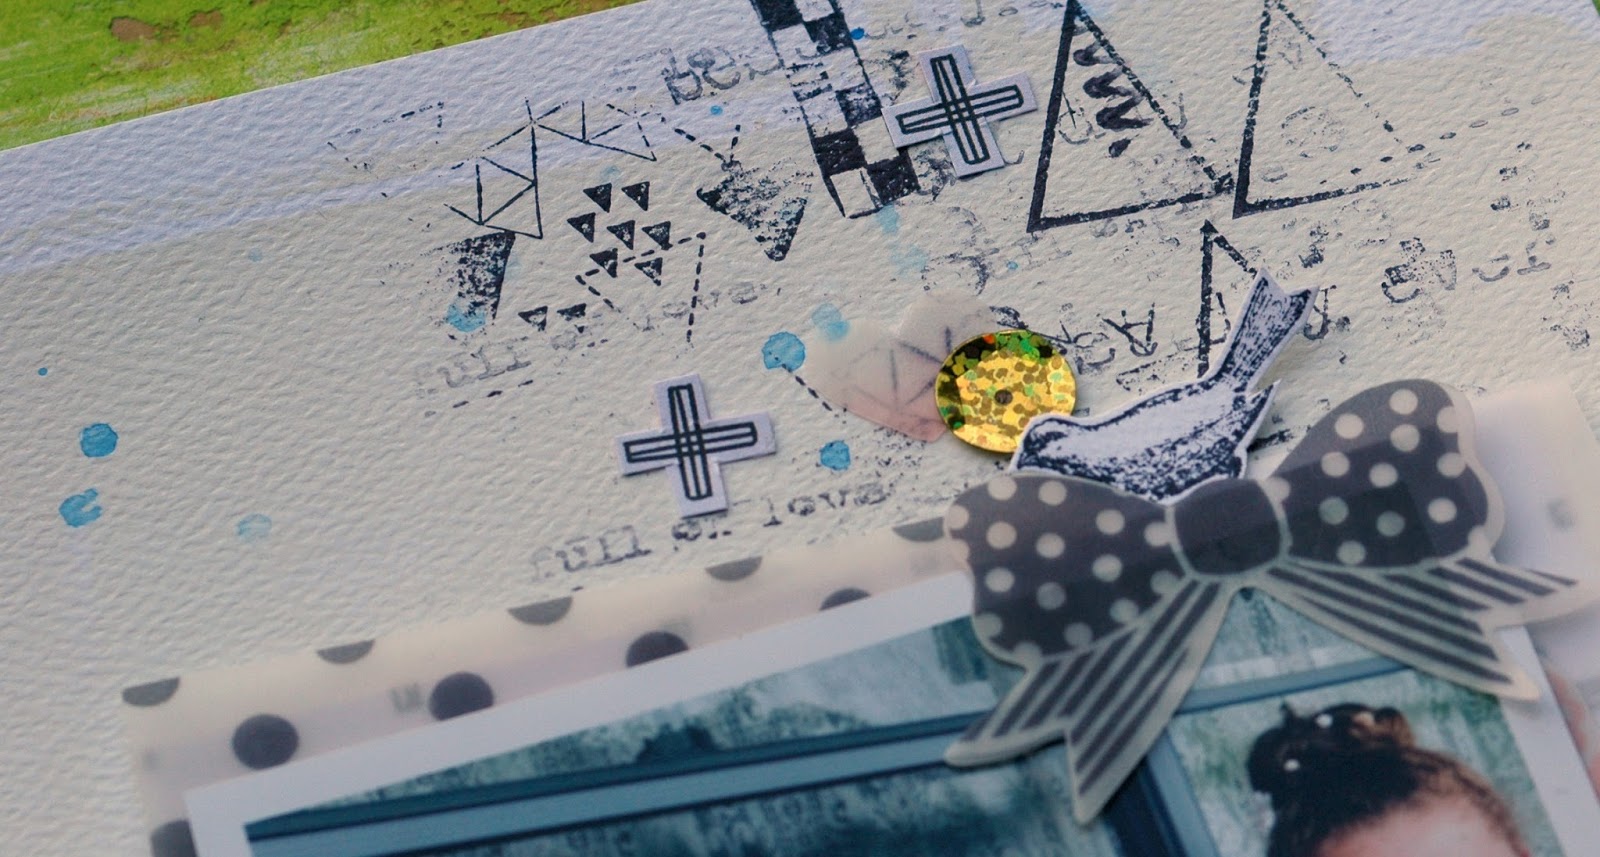
Here are my finished pages: As you can see from the pages, I like to use all my little scraps and segments of ephemera to make them stretch across the album. 


Thanks so much for taking part in my class. You can visit my social media links to see more of my work. I also have more than 150 crafty related videos over on my channel if you want some free content to check out. 


http://www.raquelbowman.com

Raquel xxx


Leeann Pearce Layout - doodle


Doodling

Base white cardstock

Using the paint and foam stamps and Sellotape reel create a pattern across the page. Allow to dry.

Using a lead pencil outline each stamped letter or number by doing doodles.

Add some random stamping to help pop the doodles.

Add some watercolour paint by creating a pool and flicking it onto the page.

Trim 1” strips from the pattern papers. (Optional machine strip the edges)

Trim your stamped doodle background to 11” and layer the 2 pattern paper strips to the left side.

Create a photo matt by layering pattern papers, vellum, tags, tabs, borders etc.

Arrange photo matt and adhere in place.

Finish by adding your puffy hearts die cut shapes, sequins, confetti, journal tags plus 3 crosses cut from the pattern paper.

Don’t forget to add your journaling.


Leeann Pearce Layout - gold and fold


Base white cardstock

Trim second sheet of white cardstock in to 3” x 3” squares, and then cut each square to form 2 triangles. At the same time trim some of the pattern paper into triangles.

Using the trimmed triangles and pattern paper triangles create a heart shape.

Layer and adhere in place.

Using your watercolour paints create a pool and randomly paint and splatter in a diagonal. Mop up the excess with paper towel. Allow to dry.

Following the paint splatter incorporate random stamping.

Select 3 feathers and cut out. Apply the glue to the mid lengths and tips and allow to go tacky. Then apply the gold leaf using a soft brush.

Using a running stitch on your piece of fabric to create a bloom as well as stitching the button in place.

Create a photo matt using the pattern papers and layer.

Cut out the quote tags.

Arrange all you pieces, once happy adhere in place.

Finish by adding your sticker words and shapes, sequins, cotton thread etc.


Don’t forget to add your journaling.

Raquel Bowman layout

Hey everyone, 
Thanks for joining me for this layout class featuring some of my favourite techniques and design styles to use on layouts - lots of layers and clusters and white and clean designs that document a story I want to tell. 

Here is the layout we will be creating today, it is featuring the stunning 'Wild at Heart' collection by Cocoa Vanilla Studio. 


I have included below a video which contains the process of how this layout came together. I understand that we all work at different speeds, so feel free to watch this to see what steps are next *please note* the videos do not contain sound.


The die cut pack contains so many bits and pieces that you can choose from to embellish and add to your clusters. Here is an image of the die cuts that I used on this layout if you would like to use the same as me (the small blue flower didn't make it in the end)

One of my favourite things I like to do on layouts and also the big motivator to why I scrapbook is the documenting of our stories. I love the look of typewritten journaling and add this to the page in strip form. I will always use white card stock scraps from my stash to do this and save them just for my journaling. 


Here are some close ups of the clusters, this will give you a good idea of how I layer the embellishments and which ones have dimensional adhesive under them. 


The whole heart die cut is applied with a foam sheet available at craft chain stores. I love dimension and find this is the most cost effective way to achieve this look on larger items. 


To finish the page I add a few drops of the Heidi Swapp colour shine in Gold Lame. You could use any coordinating colour mist. I apply it in the areas of the three main clusters. 

Thanks again for joining me in this class today. I am so blessed and grateful to be teaching at such an amazing event! 

I will leave you with my social media links below:

http://www.raquelbowman.com


Raquel x